Friday 22 April 2011

Mock Fish

This stuff really has the taste and texture of flaky fish. It's a recipe that Chinese Budhists have been using for years. Once prepared, you can freeze for later, steam, pan fry or deep fry.


Yields about 6 fish patties

Ingredients:

1 pkg (250Grams) dried bean curd (found in any Asian grocery)
3-5 tsp vegetable stock powder (depending on how flavourful you want it)
1 tsp sugar
1/2 tsp salt
1 tbsp kelp powder
2 tbsp oil
1 tsp cornstarch
5-6 sheets nori seaweed

Soak the bean curd in water overnight. Alternatly, if you can find fresh or frozen bean curd you can skip this step entirely!

Drain the bean curd and squeeze out all the excess moisture. Wrap in a towel and press down firmly to get even more out.

Chop the bean curd and add all the other ingredients except the nori sheets. Mix well.

From here, you can either steam the fish directly or you can do my favourite, spread an even amount in the middle of a nori sheet and then fold in the edges. Place seam side down.

Now, I don't have a steamer, so I have to do this the old fashioned way. I fill a large pot with water about 1/4 of the way, place the fish patties in a plastic container and then simply cover and boil. It works really well!


Steam for about 15-20 minutes and eat! They don't have to be wrapped in nori if you don't like the taste of seaweed, but it really brings the fishy flavour!

Saturday 16 April 2011

"Beef" Ravioli

I love ravioli, but the only vegan flavour at the grocery store is pumpkin. Nasty. Here's a recipe that really tastes alot like it's beefy cousin,  though it does take some time to prepare.

Yields about 50 raviolis

 
Ingredients

Dough
4 cups flour
1 cup warm water
1/2 cup canola oil

Filling
1 pkg imitation ground beef (I like to use Yves brand myself)
2-3 cloves garlic
1/4 cup fresh chopped parsley
1 chopped onion

Mix the dough ingredients together. Cover and let sit for 1/2 hour. Meanwhile, pan fry the ground "beef" onion and garlic for about 15 minutes. Mix in the parsley, cook for about 3 minutes, remove from heat.


This is my ravioli press. I can no longer live without it. It's so quick and easy to use! First you roll out a thin layer of dough and place it on the metal base. Next place the plastic mold on top and gently press down to leave little divots like this

Next, fill them pockets! Then all you do is place another layer on top and gently roll a rolling pin on top until the edges cut out the raviolis. In no time, you have 12 uniform raviolis ready to cook! I love it.

If you don't have a press, you can do it the old fashioned way. Roll out a layer of dough, evenly spread the filling on top, place another layer of dough on top. Using the back of a large knife, gently press down and cut squares to desired size. The edges should seal on their own and any that don't can be pinched shut with your fingers.

Mmmm.... look at that. Now they are ready to be frozen or thrown in boiling water until they float, about 5 minutes and serve!


Toss with your favourite sauce, but be careful, because they will not be slightly more prone to breaking open than store bought

Chocolate Oreo Ice Cream without an ice cream maker

I feel lazy including a vegan recipe with only 2 ingredients, but it's so easy and delicious, I just couldn't resist. Oh and yes, the pictures are horrible, my camera was acting up today.


Prep time about 3-4 hours

Ingredients

2 cups non dairy chocolate milk (I prefer Almond milk, but I only had soy that day)
1/2 cup oreos, about 5-6 cookies


Funny thing about oreos, they are acidently vegan! First, crush up the oreos, I like to break them up in a coffee grinder. Next mix with the milk. It's fastest to use a metal bowl if you can. Place in the freezer.


After 1 hour, mix the milk and cookies vigourously to break up any ice crystals, scraping off anything frozen to the sides. You want to make sure there are no ice crystals left. Place back in freezer and repeat every 1/2 hour until the desired consistency is reached, usually 2-3 hours more. Serve immediatly

Ugh, I swear it looks better in real life, what an awful picture! Make sure to eat it right away. Unless you can set your freezer to stay at about 4 degrees, the ice cream will freeze into an uneatable mess. More, more complicated flavours of ice cream to come!

Thursday 14 April 2011

Instant "Chicken" stuffing

I love using something that would be considered waste and making something good out of it.

I don't like to eat bread ends, so this is what builds up in my freezer, bags and bags of bread crusts. Not wanting to waste anything, I either turn them into croutons or stuffing! Obviously, vegans can't stuff a bird and bake it and unfortunately, stovetop stuffing always has beef, chicken or turkey broth in it. This recipe has no animal by products and tastes just like the stovetop you buy at the store, but costs much less.


Ingredients

31/2 cups dried bread cubes
1 cube chicken flavoured all vegetable bouillon
1 tbs parsley flakes
1 tsp poultry seasoning
1 tsp onion powder
1 stick celery

1 cup water

2 tbs vegan margarine


First thing to do if you don't buy them pre-packaged is to make the dried bread cubes. Cube the bread ends and bake at 200 degrees for about one hour. Turn 2-3 times to avoid buring. Let cool and store in an airtight container.


Combine the water, margarine and spices and bring to a boil. Reduce heat, cover and simmer for 10 minutes


Gently mix in the bread cubes and celery. Remove from heat, cover and let sit for 5 minutes.

 If you have the bread cubes made ahead of time, this makes for a quick and easy side dish. Funny thing about vegan cooking, the thing in the picture with the lowest calories is the gravy.

Sunday 10 April 2011

Sauerkraut Pierogies

Being of Ukrainian descent I grew up with homemade pierogies. Anybody who has had real pierogies knows that they are far superior to those frozen bagged ones you can get at the grocery store. Most people I know have never had anything else and believe that the only varieties you can find are cheese, potato and cheese and potato and bacon, but that couldn't be further from the truth. Pierogies come in countless varieties including fish, yam, spinach and my favourite, sauerkraut. I'm going to have many different pierogi recipes as this blog continues, but let's start with my favourite

 
Ingredients

Dough

3 cups flour
3/4 cup warm water
1/3 cup vegetable oil

Filling

1 cup onion
1 cup mushrooms
2 cups sauerkraut
1/4 tsp black pepper

Makes about 40 pierogies

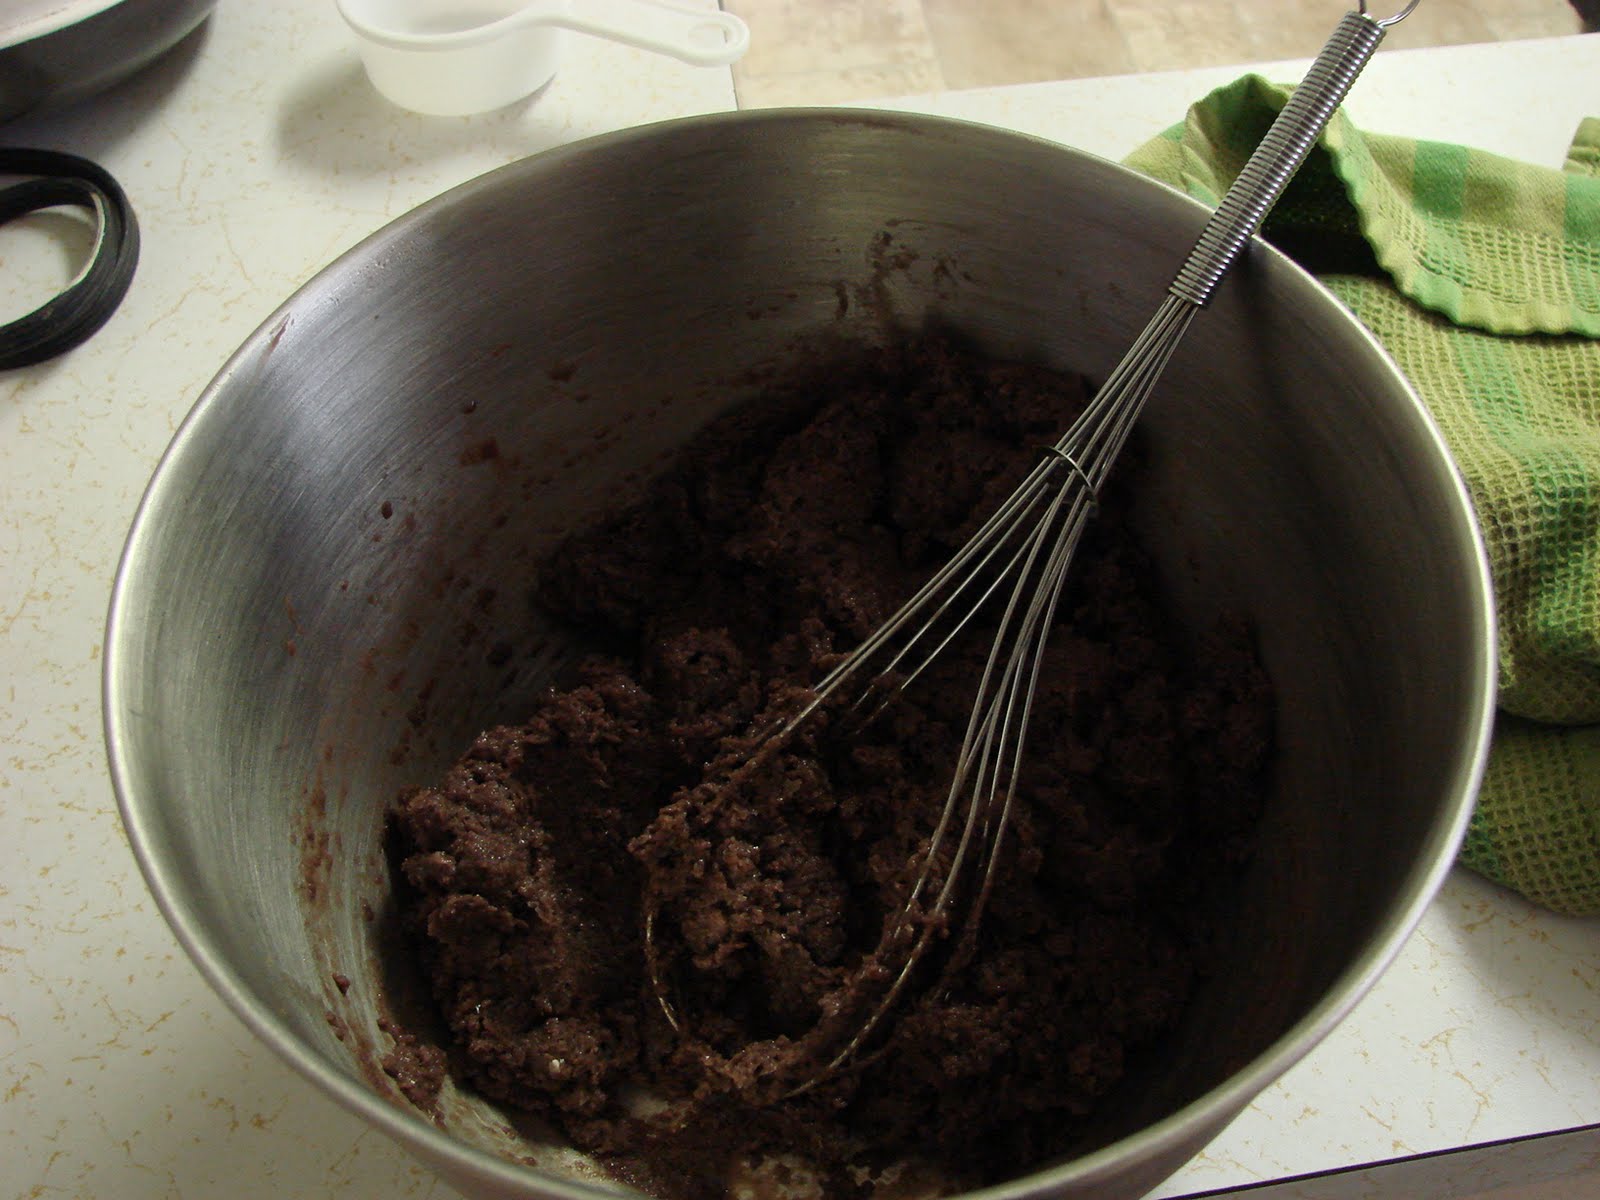
Mix the flour, water and oil together. Add more water if the dough is too dry or more flour if too wet and sticky. Cover the dough with a clean towel and let it sit for 1/2 hour.


While the dough is sitting, fry the onion for about 3 minutes. Add the mushrooms, pepper and sauerkraut.


Fry on medium heat for about 15 minutes or until the sauerkraut is lightly browned. Remove from heat and let cool.

There are a few ways to make the pierogies. My favourite is to use a pierogi press, but if you don't have one, the best way would go like this:

-Cut off a small amount of dough, about the size of a softball
-Using a rolling pin, roll the dough until it's as thin as possible, it should be almost transparent
-Using a round container, such as a yogurt container, cut circles out of the dough
-Place about a tablespoon of filling in the centre of each dough circle
-Fold in half and press the edges with a fork


From here you can lay them out in layers with wax paper between each
and freeze for later. If you're hungry now, though, you have a couple of options. Before meeting my wife, I had never heard of frying pierogies, I had always boiled just them. If you buy the bagged ones, I could see why you wouldn't; they turn out mushy. These ones, though, you just boil until they float and they stay soft, but firm. You can also fry them straight out with a little oil. My favourite is to boil them and them fry them so they turn out extra crispy.